Airgap your Raspberry Pi on a shoestring budget
May 5, 2022
Airgapping is a method used when you want to be reasonable sure your device wasn’t tampered with. Regardless if you want to install a Seedsigner or something else. The best is to never have had it connected to your network in the first place.
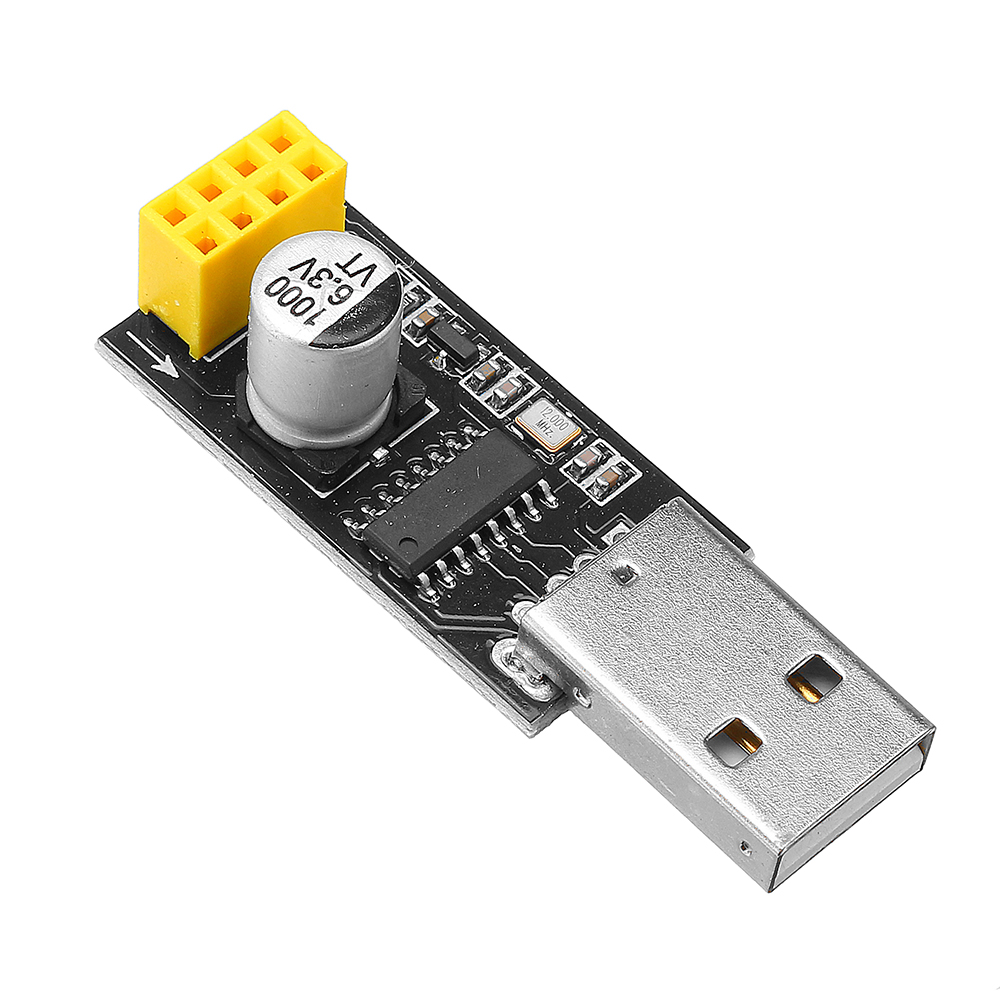
Here’s how I used a $1 USB serial programmer for an ESP-01 to configure an off-line Raspberry Pi. I’ll also show how to transfer files to your machine with this oldschool method.

Most attackers (unless “stuxnet-level”) use the IP protocol to interfer with their victims. Another vector is to interfer with the USB cables used to communicate with a device.
With this method, no TCP/IP nor USB devices was ever connected. This makes verification of all steps much easier.
Furthermore, the computer draws power from the GPIO pin so there is no need to power it from the USB port.

This is what you need to configure your raspberry pi:
- A USB Serial programmer (I got mine for a dollar from AliExpress)
- Four Jumper wires
- A linux computer with the screen tool installed
Set up
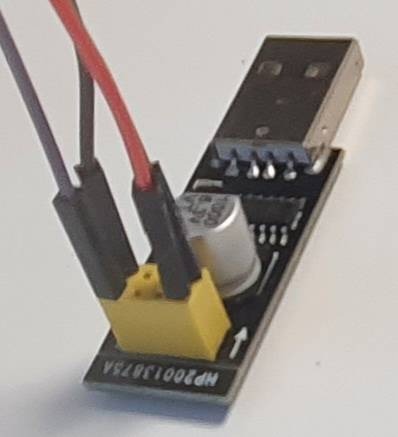
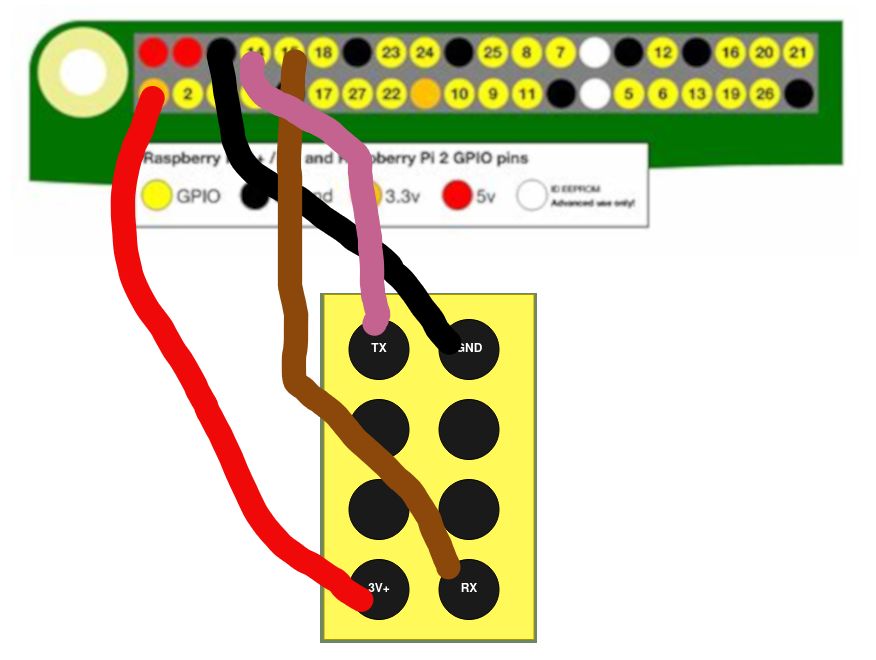
Connect a jumper wire in each one of the four pins (TX, GND, 3V+ & RX).

Each one should go to the GPIO header with the same marking on the Raspberry PI:

Preparation of the Raspberry Pi
Flash the Raspberry Pi image onto the SD card. Re-mount the SD card and edit config.txt. The last line should say:
enable_uart=1
Now generate a password in userconf.txt (or use something else if you prefer). You will use the my_user and my_pw to create a user & password on the RPi. Take note of these as you’ll need it to log on to the RPi later.
 $ export my_user="pi"
 $ export my_pw=$(< /dev/urandom tr -dc _A-Z-a-z-0-9 | head -c${1:-16};echo)
 $ export my_hash=$(echo $my_pw |openssl passwd -6 -stdin)
 $ echo ${my_user}:${my_hash} > userconf.txt
Copy the userconf.txt to the same boot partition as the config.txt file.
- Put the SD card in the RPi
- Connect the USB serial interface to your computer. It will power up your RPi directly.
Connect the console
Open a terminal on your computer
sudo usermod -a -G dialout $(whoami)    # Give yourself access to the serial device
newgrp
screen /dev/ttyUSB0 115200
Copy files over serial connection
All files you want to copy have to be base64 encoded on your desktop. To copy myfile:
base64 myfile > myfile.b64
- Open the screen session
screen /dev/ttyUSB0 115200 - Type Ctrl-A then
:readreg p /path/to/myfile.b64 - Then, still in screen, on the target RPi:
base64 -d > myfile
- Type Ctrl-D